ENG
 English
 русский
 中文简体
 Español
 Indonesia

A sliding glass door that starts to bind, scrape, or let in cold air within a couple of years rarely has a glass problem. It has an installation problem. The track was mounted out of level, the aluminum profile was undersized for the panel weight, or the opening was never checked for squareness before the frame went in. This guide walks through the installation sequence that matters and shows how to avoid the errors that turn a simple door into a maintenance issue.
Why Installation Quality Determines Door Performance
Installation quality is the single largest factor that determines how well a sliding glass door performs after day one. A properly installed door should slide smoothly under fingertip pressure, stay exactly where you push it, and seal tightly against the frame when closed. If a door drifts open on its own, sticks in the middle of the track, or leaves a visible gap at the bottom, the cause is almost always traceable to leveling, profile selection, or frame clearance.
The same aluminum profile can perform completely differently depending on how it is installed. When the track is not level, the rollers are forced to carry the panel weight unevenly. That uneven load wears the roller bearings quickly and causes the track to deform over time. When the frame is not square, the glass panels bind against the frame at one corner while staying loose at the opposite corner. These problems begin within months and accelerate once the door is used ten or more times a day.
For commercial buildings, the impact is even greater. High-traffic sliding doors in offices, retail spaces, and hospitality venues can open and close hundreds of times a day. The aluminum profile supports that frequency only if the installation was done correctly from the start.
Pre-Installation Checks and Measurements
Start with the conclusion: spend thirty minutes on measurements and level checks now to save a full day of frustrating adjustments later. The rough opening is what everything else depends on, and it needs to be verified from multiple points.
Checking the Rough Opening
Measure the opening width at the top, middle, and bottom. Then measure the height at the left, center, and right. Finally, measure the two diagonals. If the diagonals differ by more than 5 mm, the opening is not square and the frame will need to be shimmed carefully. Do not assume that the opening is square simply because it looks that way. Walls settle, framing warps, and floors shift.
Verifying Wall and Subfloor Condition
Look at the surface where the track will rest. It needs to be smooth, solid, and free of protrusions. For concrete floors, check for high spots that would break the track. For wood subfloors, confirm there is enough structural support under the track to take the weight of the door. The framing around the opening should also be checked for plumb; a wall that leans outward by 5 mm at the top can distort the entire frame once the panels are hung.
Step-by-Step Sliding Glass Door Installation
Once the measurements are recorded, the actual installation follows a logical sequence. Rushing any step will force you to make compensations later.
1. Prepare the Opening and Track
Clean the opening and remove any debris or plaster lips. Dry-fit the track in the opening first without fastening it. This lets you check that the track length matches the opening width and that the frame sits flush at both ends. Mark the positions of the fixing holes and pre-drill them with a drill bit slightly smaller than the screw diameter to prevent the aluminum from splitting.
2. Level and Secure the Track
Place the lowest end of the track on a shim and raise it until the spirit level reads zero. Secure the track with the pre-drilled screws, starting from the middle and working outward. Check the level again after tightening, because the screws can pull the aluminum slightly out of alignment. The track must be level from left to right. If one end is higher than the other by even a few millimeters, the door will slide toward the lower end on its own. The track should also sit flat on the floor without rocking; use shims to eliminate any gap under the frame.
3. Mount the Sliding Panels and Hardware
Hang the panels on the rollers and check that they move freely along the full length of the track. Adjust the roller height of each panel so that the top edge is parallel to the frame. The bottom of the panel should be 6 to 10 mm above the track surface when the roller is adjusted correctly. If the panel rubs against the track anywhere, adjust the roller height instead of forcing the panel with a heavier hand.
4. Seal Gaps and Test Operation
Run a bead of weatherproof sealant along the perimeter of the frame where it meets the wall, but leave the bottom track expansion gap open. Insert the weatherstripping or brush seals into the side and top channels. Perform a final test: open the door fully, close it slowly, and check that it seals against the frame with consistent tension across the full length. Test the lock and make sure the locking pins engage without forcing the handle.
Common Installation Mistakes That Shorten Door Life
Avoid these five mistakes and the door will likely outlast every trim and finish in the room.
- Using undersized aluminum profiles: The profile must be matched to the panel weight and total opening span. An 80 cm wide panel in a standard residential door may work with a lightweight profile, but a 1.2 m glass panel needs more structural rigidity.
- Skipping expansion gaps: Aluminum expands and contracts with temperature changes. If the frame is installed without proper clearance, the profile will buckle or push the frame out of square.
- Over-tightening screws: Aluminum threads can strip if the screw is forced beyond the recommended torque. Finger-tight plus a quarter turn is usually enough.
- Not using weatherstripping: Without brush seals or gaskets, cold air and dust pass through the gap between the track and the panel.
- Ignoring the wall anchor depth: In brick or concrete, the frame is only as secure as the anchor that holds it. Shallow anchors will loosen under daily use.
Choosing the Right Aluminum Profiles for Sliding Doors
Selecting the aluminum profile system for a sliding glass door is not a cosmetic choice. It determines whether the door stays aligned, keeps heat and sound in, and how long its finish lasts.
For most architectural sliding doors, profile alloy and wall thickness are the two decisions that matter most. The requirements differ by usage scenario. Residential sliding doors typically need 1.4 to 2.0 mm wall thickness in the main frame members. Commercial and high-traffic installations need 2.0 mm or more. The thickness requirements for door and window aluminum profiles are covered in detail in our technical guide.
If the door is being installed at an exterior wall, thermal performance becomes critical. A thermally broken profile with polyamide strips prevents cold from transferring through the aluminum and reduces condensation on the interior frame surface.
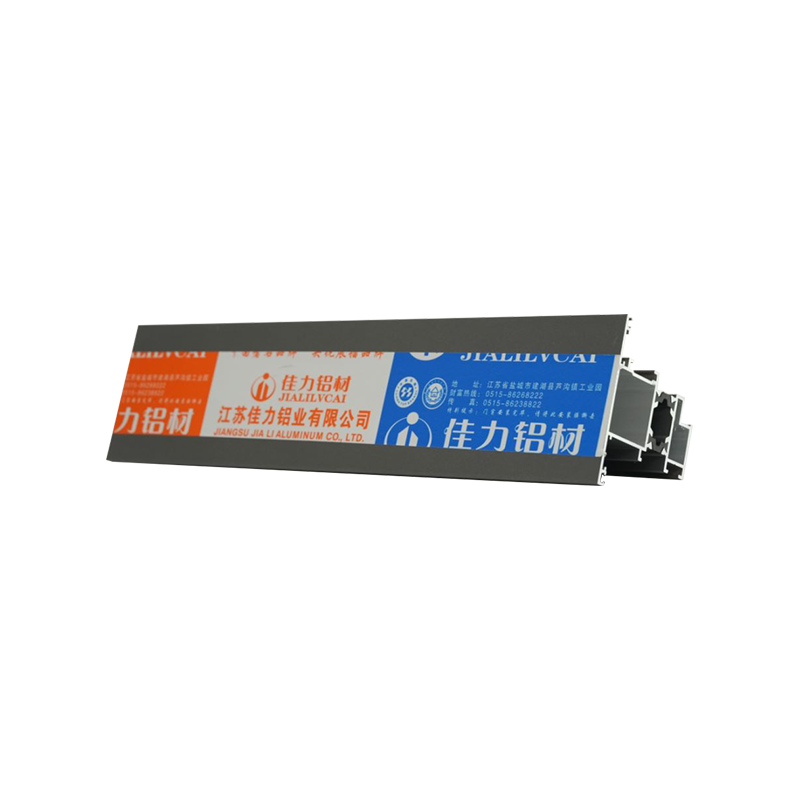
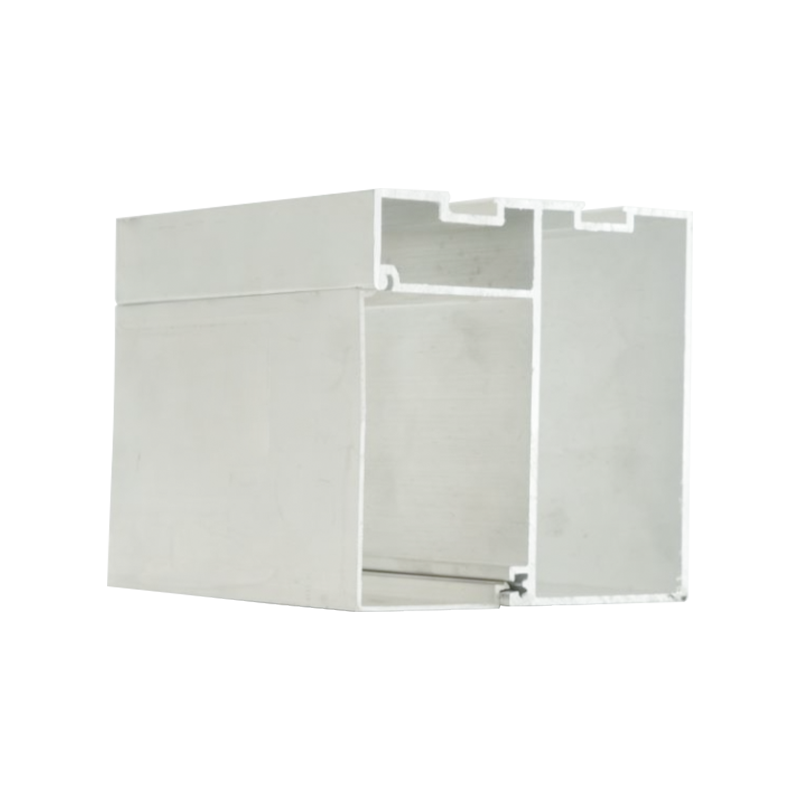
For sliding door projects where the track must handle large panels with high frequency use, the profile needs enough rigidity to prevent the track from bowing. The 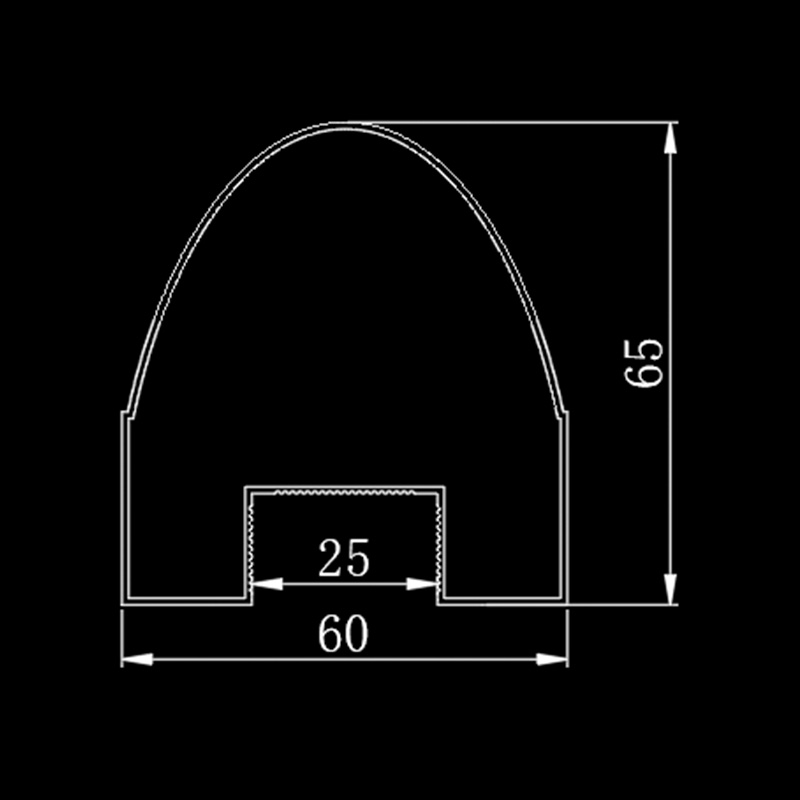 Reinforced Aluminum Profile for Heavy-Duty Sliding DoorsThis aluminum profile features a reinforced track channel and heavier walls, providing rigidity for large sliding panels in high-frequency use. Its precision extrusion ensures smooth, quiet operation and long-term stability.View Product → is designed with a reinforced track channel and heavier wall sections to meet that need.
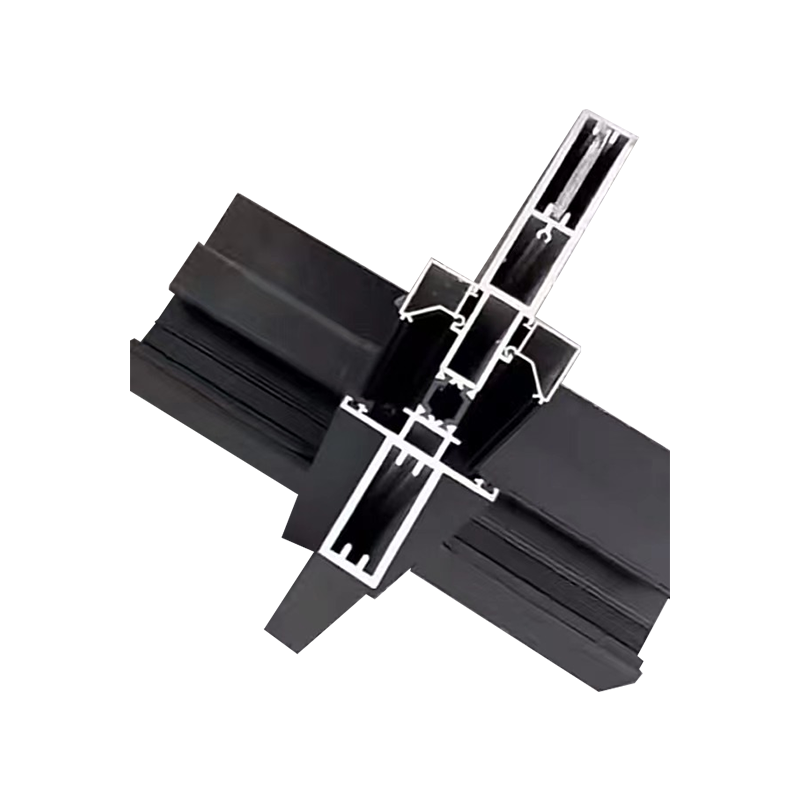
In a residential context where noise control is a priority, the profile geometry determines how much sound passes through. A wider frame with a deeper gasket channel and multiple sealing layers will perform noticeably better. The 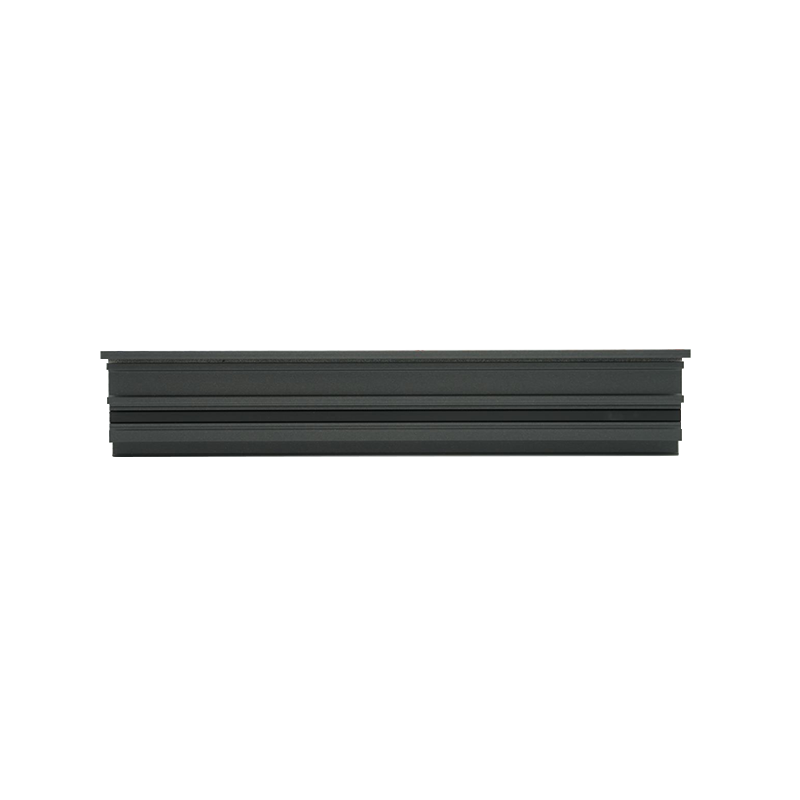 Soundproof and Thermal Insulating Aluminum Profile for Sliding WindowsThis aluminum profile integrates soundproof and heat-insulating technology, reducing noise and heat transfer. With multi-layer sealing and durable finishes, it suits residential and commercial high-rise applications.View Product → provides this in a single frame system.
Before installation, it is also worth reviewing our detailed guide on how to choose and install aluminum frames for interior glass, which covers a range of frame configurations from an engineering perspective.
Maintenance After Installation
Sliding doors are relatively low-maintenance once the installation is complete. The key is to keep the track clean, the rollers lubricated, and the weatherstripping intact.
- Clean the track at least every two months. Remove dust, grit, and sand from the bottom channel with a vacuum and a damp cloth. Small pieces of grit are the main cause of scratched aluminum tracks.
- Lubricate the rollers with a silicone-based or PTFE spray once or twice a year. Do not over-lubricate; a light mist is enough.
- Check the weatherstripping. Brush seals and gaskets wear out. If you see a gap at the bottom of the door, inspect the bottom seal and replace it.
- Check the screws. Over time, screws can work loose in a high-traffic door. Tighten them before they strip the aluminum hole.
- For the exterior side, inspect the sealed perimeter for cracks and reapply sealant if necessary, especially before winter.
Frequently Asked Questions
Q1: What is the best aluminum profile for a sliding glass door?
For most residential installations, 6063-T5 aluminum with 1.4 to 2.0 mm wall thickness is a solid choice. For large glass panels, high-traffic commercial doors, or exterior installations requiring thermal insulation, use a thermally broken profile with heavier wall sections and a reinforced track channel.
Q2: How long does it take to install a sliding glass door?
A single sliding glass door takes about three to five hours for a two-person installation crew, assuming the opening is square and the wall structure is sound. If the opening needs shimming, leveling, or re-framing, add one to two hours.
Final Thoughts
The lifespan of a sliding glass door is determined in the first hour of its installation. Accurate measurements, a perfectly level track, and an aluminum profile sized for the actual panel weight will protect you from the gradual wear that turns a simple door into an expensive repair. Invest the time in preparation, choose the correct profile, and the door will give you back decades of smooth operation.