ENG
ENG
 English
 русский
 中文简体
中文简体 Español
 Indonesia
You have just finished a custom bar cabinet or a display unit for the dining room, and the last step is a set of glass doors. The classic wood-framed route works, but it brings two recurring problems: the frame is bulky, and wood moves with humidity. An aluminum-framed glass cabinet door solves both. It uses slim extrusions that hold glass without warping, and the metal does not expand or contract with moisture the way solid timber does.
Here is the direct answer: if you can measure a rectangle, cut four pieces of aluminum profile, and insert a glass panel, you can build a glass cabinet door. The whole job takes four or five steps, and the materials are available from any supplier of architectural aluminum profiles.
20-40 mm frame width, 4-6 mm tempered glass, 1.5 mm corner tolerance, 3-5 mm reveal.
Bottom line: an aluminum-framed glass cabinet door lasts longer than a wood one in damp environments, holds glass without rattling, and needs no router work for a glazing groove.
What You Need for an Aluminum-Framed Glass Cabinet Door
A glass cabinet door made from aluminum has a few distinct parts. Understanding them first prevents you from buying the wrong profile shape.
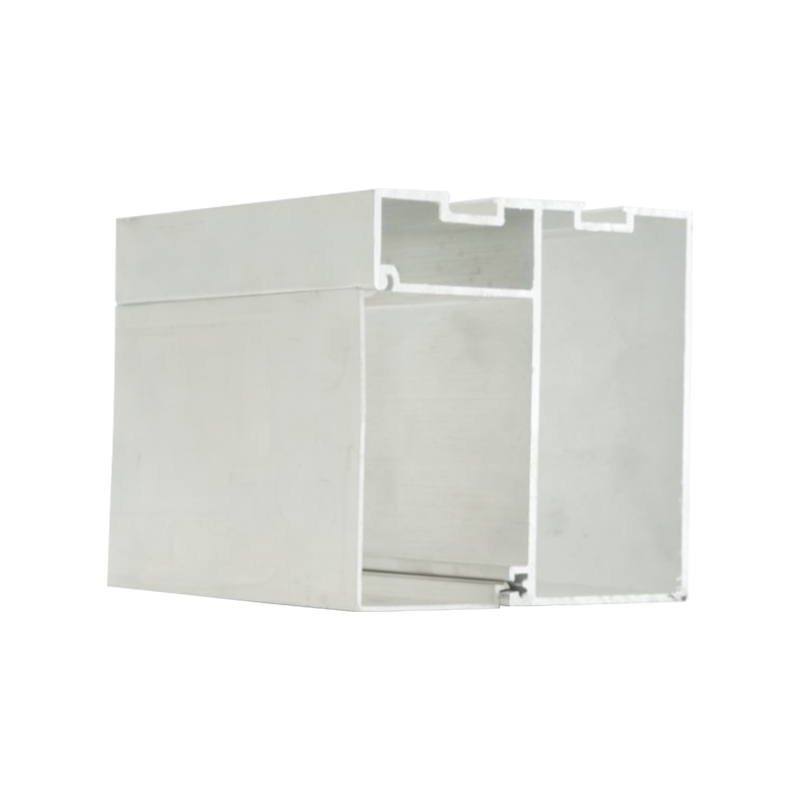
- Frame profiles — two vertical stiles and two horizontal rails. A lightweight casement window architectural aluminum profile is often used for this because it already includes a glazing channel.
- Corner connectors — small inserts that hold mitered corners together.
- Glass panel — usually 4 mm to 6 mm tempered glass, clear or patterned.
- Gasket or glazing strip — a soft rubber or EPDM seal that cushions the glass and prevents rattling.
- Hinges and screws — overlay or inset cabinet hinges sized to the door weight.
For the frame itself, a lightweight casement window architectural aluminum profile gives you the glazing channel already extruded into the section. That design detail is what saves the most time.
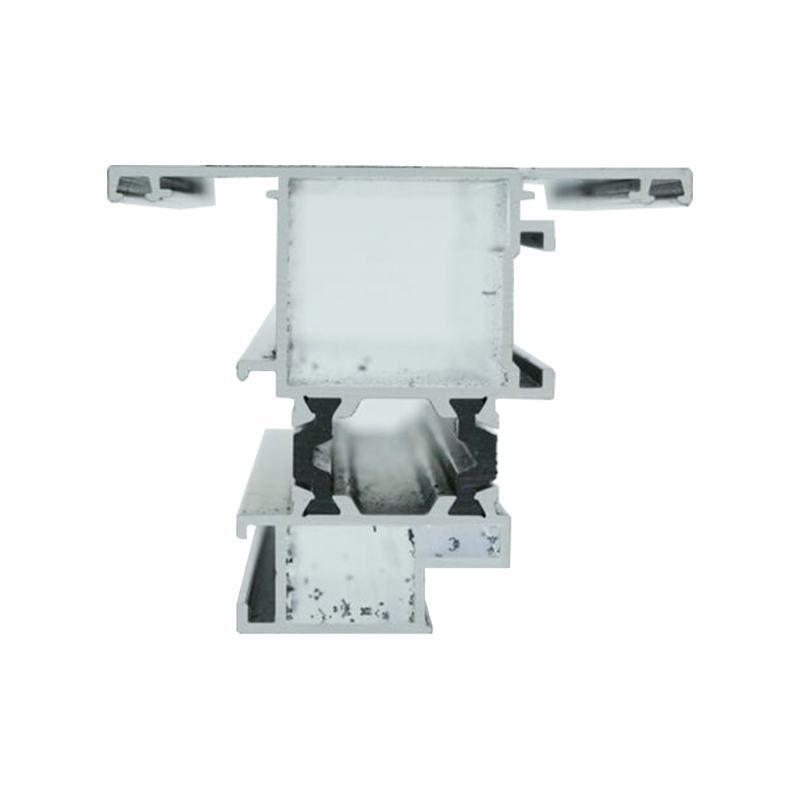 Lightweight aluminum casement window profile with thermal breakThis extruded aluminum profile features a pre-formed glazing channel and broken bridge insulation, offering durability and energy efficiency for modern residential projects.View Product →
The reason aluminum is practical for this task is not just looks. It is the strength-to-weight ratio. A 4 mm glass panel can be surprisingly heavy, and a slim aluminum frame carries that weight with a much smaller visible section than timber.
An overlay door sits on the outside of the cabinet frame, while an inset door sits inside the opening. Determine which style you want before buying hardware, because hinge type is different for each.
Measure the Cabinet Opening Before You Cut Anything
Measure the opening at the top, middle, and bottom for both width and height. Cabinet carcasses are rarely perfectly square, so use the smallest measurement that still leaves room for the door.
For an inset glass cabinet door, the frame needs to sit inside the opening with a small reveal. A typical 3 mm to 5 mm gap on all sides works well. If you are making doors that overlay the cabinet, the math changes slightly, but the principle stays the same.
Once you have the door dimensions, subtract twice the width of the frame profile from the total width and height. This gives you the glass size, not the frame cut length. Write these numbers down before the saw comes out.
One common mistake is to measure only the front face of the cabinet. If the external dimensions differ from the opening, use the exterior measurements for overlay doors. For inset doors, always use the inner opening. A 1 mm error here will show up as a gap that is very hard to fix later.
Cut the Aluminum Profiles to Size
You can cut aluminum extrusions with a miter saw fitted with a fine-tooth carbide blade. For cabinet doors, use a 45-degree miter cut at both ends of each piece. If your profile uses a screw-in corner bracket, a 90-degree butt joint is acceptable.
Remove everything that would prevent the pieces from sitting flush. Burrs and chips are the number one cause of corners that do not close. A deburring tool or a fine file is enough to clean the cut edges.
Cut the two stiles to the full door height and the two rails to the door width minus twice the stile width. Check each piece against your written measurements before assembly.
Choose and Cut the Glass Panel
The glass is the centerpiece of the door. Tempered glass is the safer choice for cabinet fronts because it breaks into small pieces instead of shards. For a display cabinet, patterned glass or acid-etched glass gives privacy while still letting light through.
Glass thickness matters for the frame groove. A 4 mm panel fits most narrow cabinet profiles. If the door is wider than 600 mm, choose 5 mm or 6 mm to reduce flex. The glass size needs to be smaller than the frame opening — subtract 4 mm to 6 mm on each side for the gasket.
Patterned glass, reeded, fluted, or frosted, hides the contents while still giving a stylish look. If you want to show off the items inside, clear glass with a thin frame works best. The choice is easy to make before cutting and hard to change after assembly.
Always wear cutting gloves and safety glasses. If you are not confident cutting glass, order it cut to size and specify the exact measurements from the previous step.
Assemble the Frame and Insert the Glass
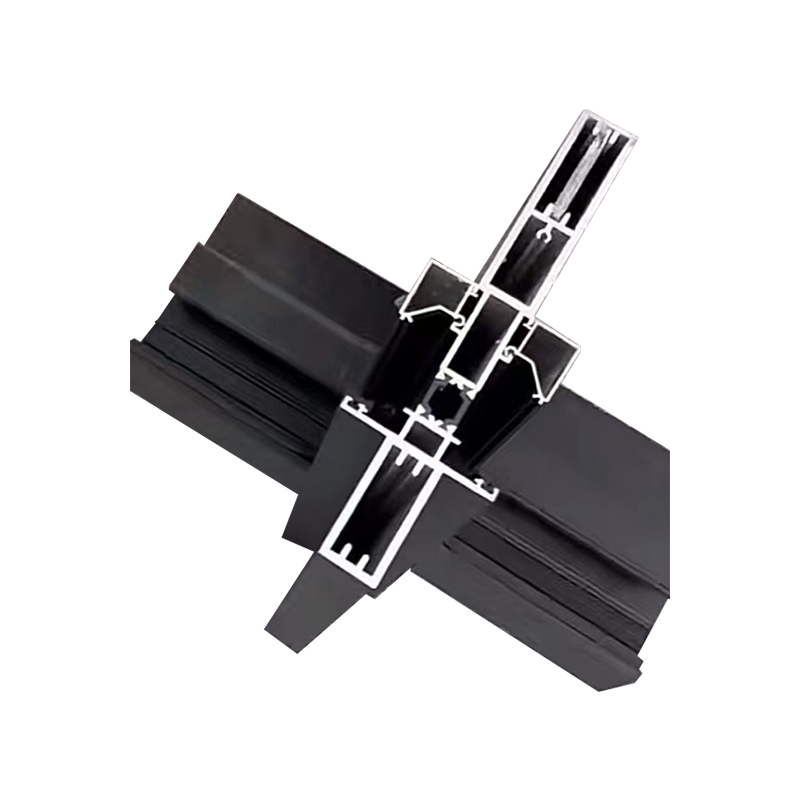
Dry-fit the four frame pieces to confirm the corners close. Then apply the corner connectors. Use supporting corner profiles — these inserts pull the mitered joints tight and keep the frame square while the glue or screws cure.
 Aluminum corner profiles for precise frame assemblyThese aluminum corner inserts pull mitered joints tight and maintain squareness during assembly, ensuring structural integrity and ease of handling in window fabrication.View Product →
Insert the glass after the frame is partially assembled. Lay the gasket into the frame channel, place the glass, then add the gasket on the other side. Press the glazing strips or beads into place to lock the glass.
You can also use structural adhesive on the mitered corners. Apply a thin bead to both pieces, clamp them, and let the glue cure according to the manufacturer's instructions. This produces a permanent joint that will not come loose over time.
Check the frame for squareness by measuring the diagonals. The two diagonal measurements should be equal within about 1.5 mm. If not, loosen one corner, adjust, and re-tighten.
Install Hinges and Mount the Door
For a glass cabinet door on a framed carcass, use concealed European hinges rated for the door weight. A door with 6 mm glass and an aluminum frame can weigh several kilograms, so hinge load capacity is a real consideration.
Mark the screw holes on the aluminum profile with a center punch to keep the self-tapping screws from sliding. If the profile is anodized, use a coating-friendly screw to prevent the finish from chipping.
Mount the hinges to the aluminum stiles with self-tapping screws. Do not overtighten. Then hang the door and adjust the cup screws to align the gaps. The reveal should stay even across the top and sides.
If the door feels heavy, consider adding a third hinge in the middle. This also helps for tall cabinets over 900 mm.
What to Look for When Buying Aluminum Profiles
Not all extrusions are suitable for cabinet doors. Here is what matters:
- Alloy and temper — 6063-T5 is the standard for architectural profiles. It bends less than softer tempers and still accepts anodizing or powder coating.
- Wall thickness — for small doors of 300 mm to 600 mm wide, a 1.4 mm to 1.8 mm wall is enough. Larger panels need a thicker section.
- Surface treatment — anodized silver, powder-coated matte black, or brushed finishes are common. Anodized surfaces are less likely to chip.
- Profile width — narrow 20 mm to 30 mm frames look elegant in modern kitchens, while 40 mm frames support heavier glass.
6063-T51.4-1.8 mm wall20-40 mm face widthtempered glass
For standard cabinet doors, the aluminum profiles for home furnishings line includes extrusions that can be adapted to custom glass fronts.
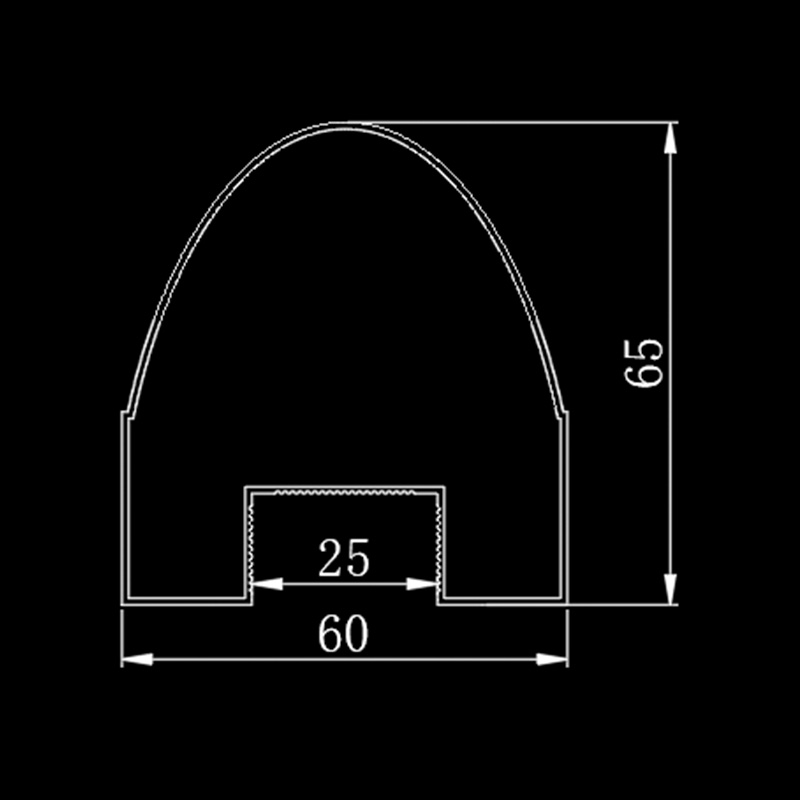
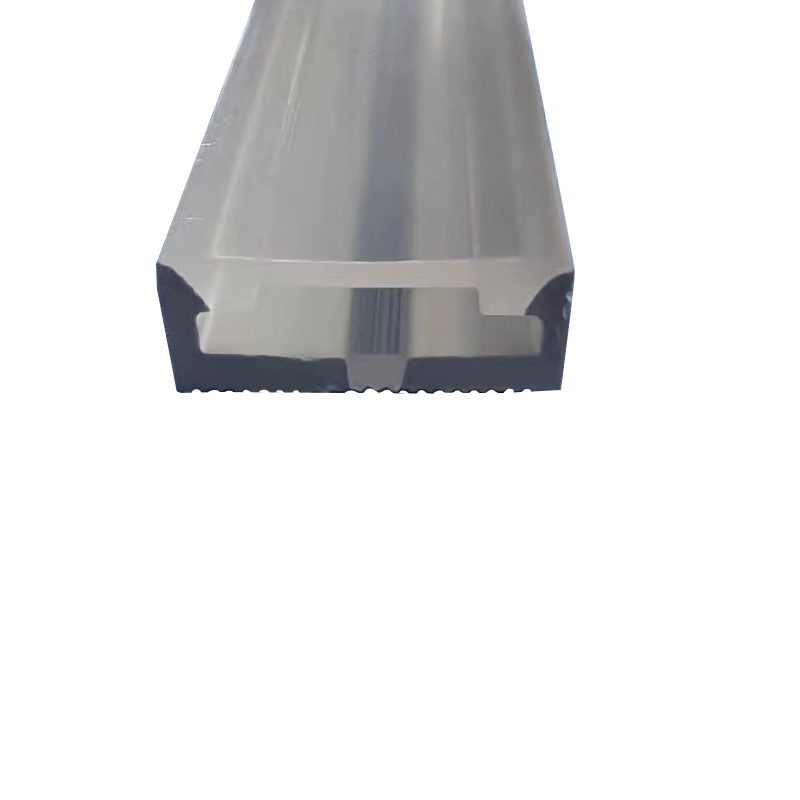 Customizable aluminum profiles for cabinet door framesThese aluminum extrusions can be tailored to specific face widths or glazing channels, making them suitable for custom glass-front cabinet doors with unique dimensions.View Product →
Most cabinet door frames can be made with standard extrusions, but if you need a specific face width or a custom glazing channel, manufacturers can develop a dedicated die. Projects with unique dimensions or curved fronts often benefit from a custom profile.
For more detail on choosing and installing aluminum frames for interior glass, read how to choose and install aluminum frames for interior glass.
Frequently Asked Questions
Q1: Can I use standard window profiles for cabinet doors?
Yes. Many window profiles are simply aluminum extrusions with a glazing channel. The main thing to check is that the profile is narrow enough for a cabinet front and that the wall thickness suits the door size.
Q2: What glass thickness should I choose?
4 mm works for most cabinet doors. If the door exceeds 600 mm in either direction, choose 5 mm or 6 mm tempered glass to reduce bowing and flex.
Q3: Do I need a gasket?
Yes. A soft EPDM gasket prevents glass-to-metal contact, which is the most common reason for glass breakage in cabinet doors. It also stops rattling when you open and close the door.
Q4: Can I convert an existing cabinet to glass doors?
Yes. Remove the wood panel, use the existing frame as a guide, and follow the process above with appropriate adjustments for the opening size.