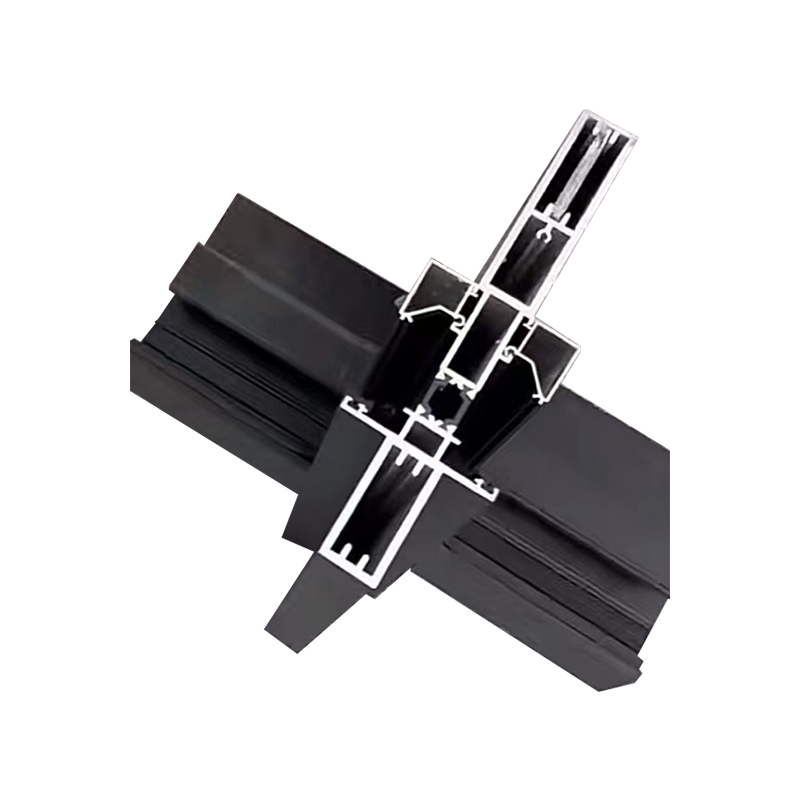
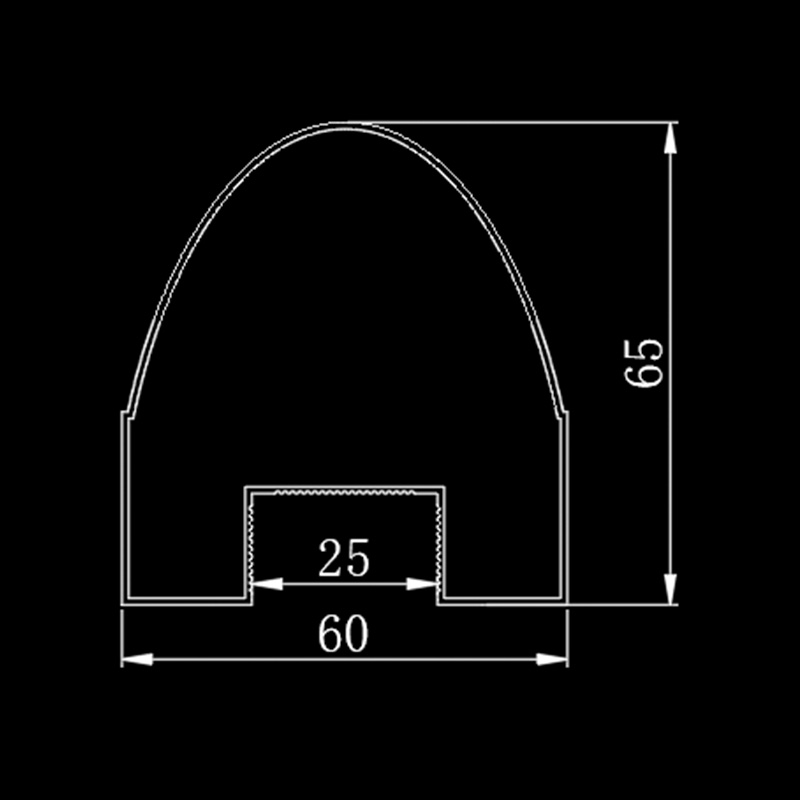
In the field of modern architecture, as people's requirements for comfort and quietness in living and office environments continue to increase, soundproof and heat-insulating sliding windows occupy an important position in the building door and window market with their excellent performance. As a key component of sliding windows, the installation and construction quality of architectural aluminum profiles directly affects the final soundproof and heat-insulating effect and service life of the windows. Therefore, it is very important to have a deep understanding of and strictly follow the installation and construction points of soundproof and heat-insulating sliding window aluminum profiles.
1. Preparations before construction
(I) Inspection of materials and accessories
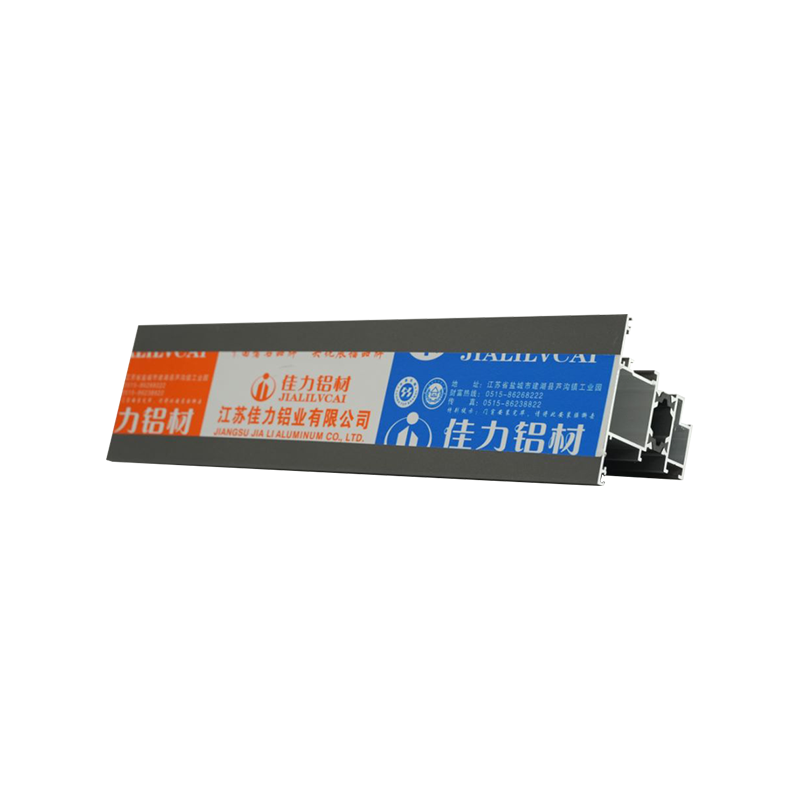
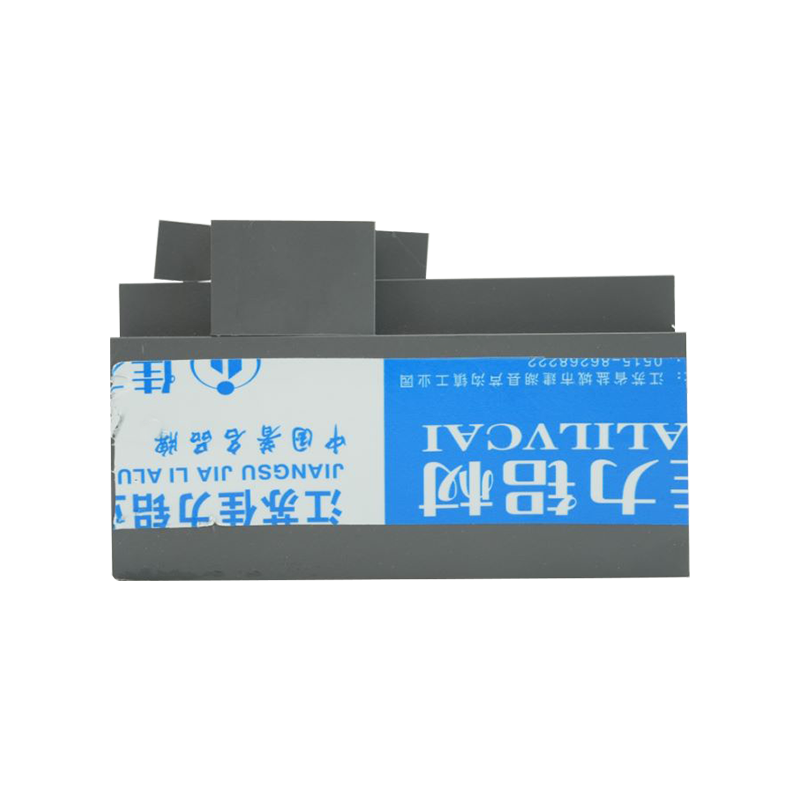
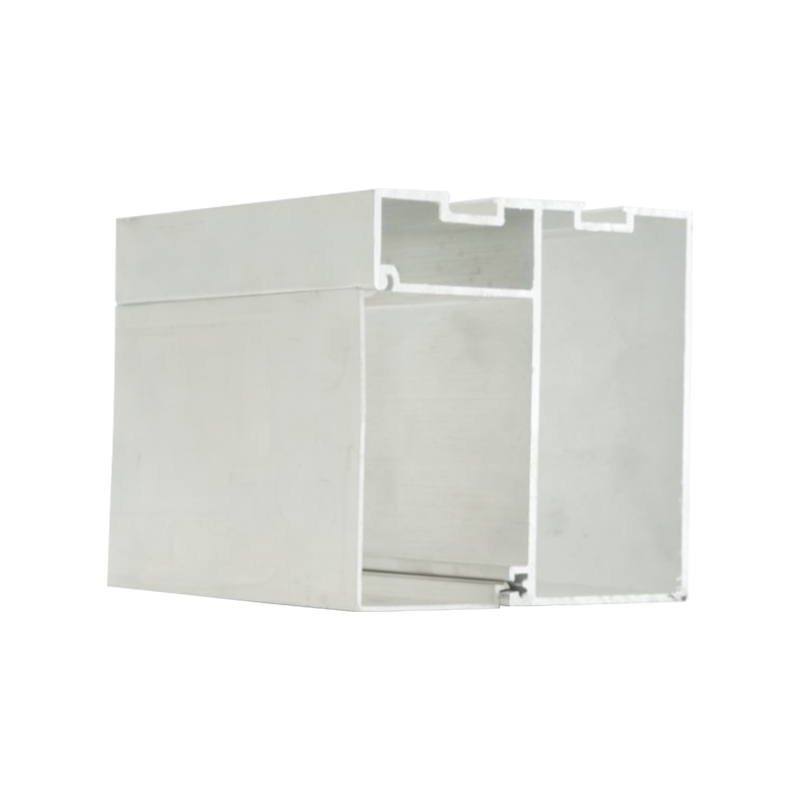
Before construction, the soundproof and heat-insulating sliding window aluminum profiles and their supporting materials should be strictly inspected. The material, specification and model of the aluminum profile must meet the design requirements, the surface should be flat and smooth, without cracks, bubbles, peeling, corrosion and other defects, and the thickness of the oxide film must meet the relevant standards. At the same time, carefully check the quality of accessories such as sealing strips, pulleys, and locks. The sealing strips should have good elasticity, aging resistance, and sealing performance. The pulleys should rotate flexibly, and the locks should be easy to open, firm, and reliable. For unqualified materials and accessories, they must not be used to ensure the construction quality from the source.
(II) Construction site inspection
Carry out a comprehensive inspection of the construction site to ensure that the wall structure of the installation site has been completed and meets the design strength requirements. Check whether the opening size meets the design requirements. The horizontal and vertical deviations of the opening should be within the allowable range. Generally speaking, the allowable deviation of the opening width and height is ±5mm, and the allowable deviation of the diagonal length difference is ±10mm. If there is a deviation in the opening size, it needs to be trimmed in time to avoid affecting the installation accuracy of the aluminum profile and the sealing of the window. In addition, it is necessary to check the water and electricity supply at the construction site to ensure the electricity and water demand during the construction process.
(III) Preparation of construction tools
Complete and good-performing construction tools are the basis for ensuring installation quality and construction efficiency. Commonly used construction tools include electric drills, cutters, levels, tape measures, screwdrivers, wrenches, etc. Before construction, all tools should be thoroughly inspected and debugged to ensure their normal operation. For example, the drill bit of the electric drill should be sharp, the blade of the cutter should be without gaps and firmly installed, and the accuracy of the level should meet the construction requirements.
2. Installation and construction process
(I) Window frame installation
Positioning and laying out: According to the design drawings, the horizontal and vertical center lines of the window frame installation are popped up on the wall of the opening as the reference line for the window frame installation. The positioning and laying out should be accurate to ensure that the window frame is on the same horizontal and vertical plane after installation, ensuring the overall beauty and sealing of the window.
Fixed connector installation: Install fixed connectors on the window frame at a certain spacing, generally not more than 600mm. Fixed connectors should be made of stainless steel or aluminum alloy to prevent rust from affecting the connection strength. Put the window frame into the opening, adjust the position and verticality of the window frame to align it with the positioning and laying out, and then fix the window frame to the wall through the fixed connector. The fixing method can be expansion bolts or nails. The fixing point should be firm and reliable, and the structural safety of the wall should not be damaged.
Gap treatment: The gap between the window frame and the wall should be filled with elastic sealing materials, such as polyurethane foam. When filling, ensure that the gap is filled fully without voids or bubbles. After filling, cut off the excess foam, and then apply sealant on the surface of the gap. The sealant should be even and smooth, without cracks or flow, so as to further improve the sealing and waterproof performance of the window.
(II) Window sash installation
After the window frame is installed and fixed and the gap treatment is completed, the window sash is installed. First, install the pulley on the lower frame of the window sash. The installation position of the pulley should be accurate to ensure that the window sash is stable and smooth during the push and pull process. Then, put the window sash into the window frame, adjust the gap between the window sash and the window frame, and ensure that the upper and lower and left and right gaps are uniform. Generally, the gap is controlled at about 2-3mm. Too large or too small a gap will affect the sealing performance and use effect of the window. Finally, install the lock and limit device of the window sash to ensure that the window sash is firm and reliable after closing, and can effectively prevent the window sash from falling out.
(III) Sealing strip installation
The sealing strip is a key component to ensure the sealing performance of the sound insulation and heat insulation sliding window. Install the sealing strip at the corresponding position of the window frame and the window sash. During installation, ensure that the strip fits tightly with the profile without twisting or breaking. The joints of the strips should be spliced at a 45° angle and bonded with special glue to ensure good sealing at the joints. Especially at the overlap of the window frame and the window sash, the sealing strip should be completely covered to form a continuous sealing structure to effectively prevent the penetration of air and sound.
3. Key points for construction quality control
(I) Dimension accuracy control
Strictly control the installation dimensional accuracy of the aluminum profiles of the sound insulation and heat insulation sliding window building to ensure smooth opening and closing of the window. The diagonal length difference of the window frame should not be greater than 3mm, and the width and height dimensional deviation of the window sash should be within ±2mm. During the installation process, use tape measures, levels and other tools to measure and adjust at any time to ensure that the dimensions of each installation link meet the requirements.
(II) Connection strength inspection
Regularly check the connection strength between the various parts of the aluminum profile to ensure that the fixed connectors, screws and other connection parts are firm and reliable. For window frames fixed with expansion bolts or nails, check whether the bolts or nails are tightened and whether there is any looseness. The hinges, pulleys and other parts connecting the window sash and window frame should also be checked to ensure that they are tightly connected and flexible. If any connection parts are loose or damaged, they should be repaired or replaced in time.
(III) Sealing performance test
After the installation is completed, the sealing performance of the window is fully tested. The smoke test method or the pressure test method can be used to check whether the window has air leakage or gas leakage. In the smoke test, smoke is released inside the window to observe whether the smoke leaks from the gap; in the pressure test, the airtightness of the window is tested by applying a certain pressure to the inside of the window. If it is found that the sealing performance does not meet the standard, the cause should be found in time, and the sealing strips, gap filling and other parts should be adjusted and repaired.
(IV) Hardware accessories debugging
Debug the pulleys, locks and other hardware accessories of the window sash to ensure that they function normally. Check the operation of the pulley on the track to see if there are any problems such as jamming and abnormal noise; debug the opening and closing functions of the lock to ensure that the lock can firmly lock the window sash and is easy to operate. If there are any problems with the hardware accessories, they should be adjusted or replaced in time to ensure the normal use of the window.
4. Construction safety and environmental protection
(I) Construction safety measures
During the construction process, strictly abide by the safety operating procedures to ensure the personal safety of construction workers. When working at high altitudes, construction workers must wear safety belts and set up safety nets; when using power tools, ensure that the tools are well grounded to prevent electric shock accidents; when carrying aluminum profiles and accessories, pay attention to prevent bumps and scratches to avoid personal injury. At the same time, regularly conduct safety inspections on the construction site to eliminate safety hazards in a timely manner.
(II) Environmental protection measures
Take effective environmental protection measures to reduce environmental pollution during construction. Waste and garbage generated during construction should be cleaned up in a timely manner, stored in a classified manner, and handled in a unified manner; the dust generated by cutting aluminum profiles should be collected by vacuuming equipment to prevent dust from flying and polluting the air; noise generated during construction should be reduced by noise reduction measures, such as using low-noise equipment, reasonably arranging construction time, etc., to reduce the impact on surrounding residents.

 ENG
ENG
 English
 русский
 中文简体
中文简体 Español
 bahasa Indonesia
