ENG
ENG
 English
 русский
 中文简体
中文简体 Español
 Indonesia
Installing a sliding door into an existing wall and framing a new doorway requires precision, the right materials, and a clear sequence of operations. When working with aluminum profile for sliding door systems, the process differs significantly from traditional wooden or steel framing. Aluminum offers lightweight strength, corrosion resistance, and dimensional stability, making it an ideal choice for both residential and commercial sliding door installations.
This guide focuses on the technical aspects of retrofitting a sliding door into a wall, from structural assessment to final track alignment. We will cover how to frame a rough opening, install the aluminum door frame profile, mount the sliding track system, and adjust the door for smooth operation. The content is based on industry-standard practices and real-world installation data, providing actionable insights for contractors, architects, and DIY enthusiasts.
Faster installation vs. wood framing
Years typical service life for aluminum tracks
1. Structural Assessment and Rough Opening Preparation
Before touching any material, evaluate the wall where the sliding door will be installed. Load-bearing walls require a header to redistribute weight, while non-load-bearing partitions may only need minimal framing. For an aluminum framed door, the rough opening dimensions must exceed the door slab width by at least 50 mm on each side and 30 mm above to accommodate the track system and adjustment clearances.
1.1 Measuring the Opening
- Width: door width + 100 mm (for track brackets and jamb clearance).
- Height: door height + 80 mm (for track height + floor clearance).
- Check plumb and level: deviations greater than 3 mm over 2 meters require shimming.
1.2 Framing the Doorway
Construct a rough frame using kiln-dried lumber or steel studs. The frame must be square: diagonal measurements should not differ by more than 2 mm. Install a solid header if the wall is load-bearing; for non-load-bearing walls, a simple two-by-four top plate suffices. Secure the frame to adjacent studs with structural screws at 300 mm intervals.
Pro Tip: Use a laser level to mark the track mounting line on the header. This reference line ensures the track is perfectly horizontal, which is critical for smooth sliding action.
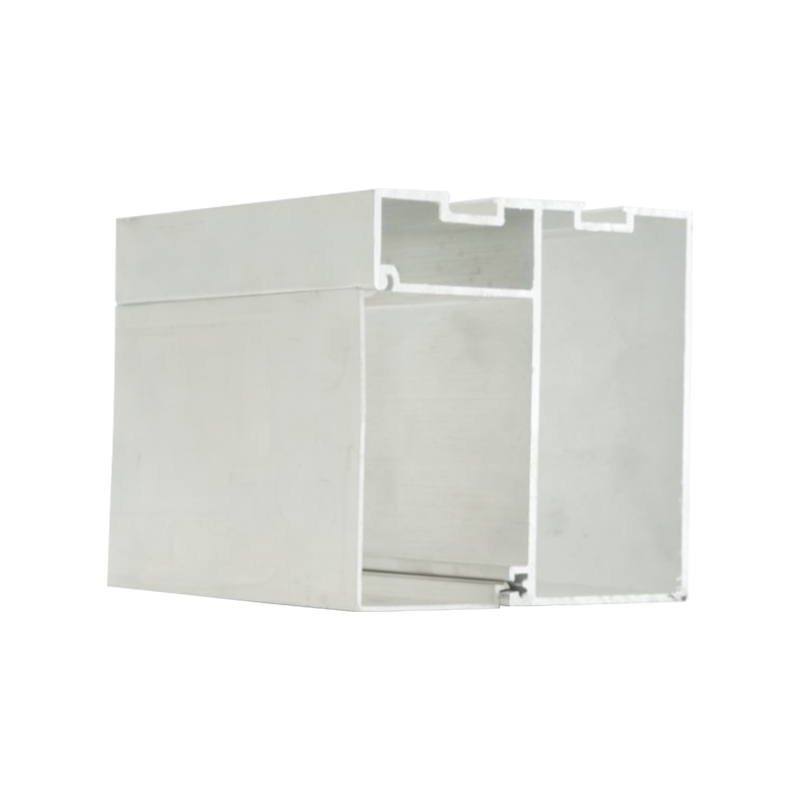
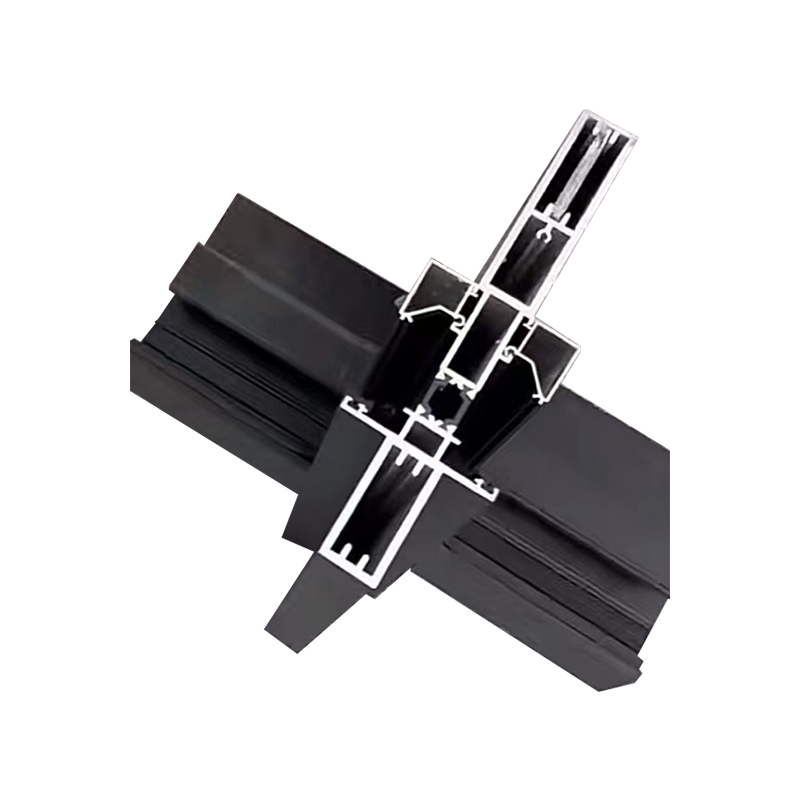
2. Selecting and Preparing the Aluminum Door Frame Profile
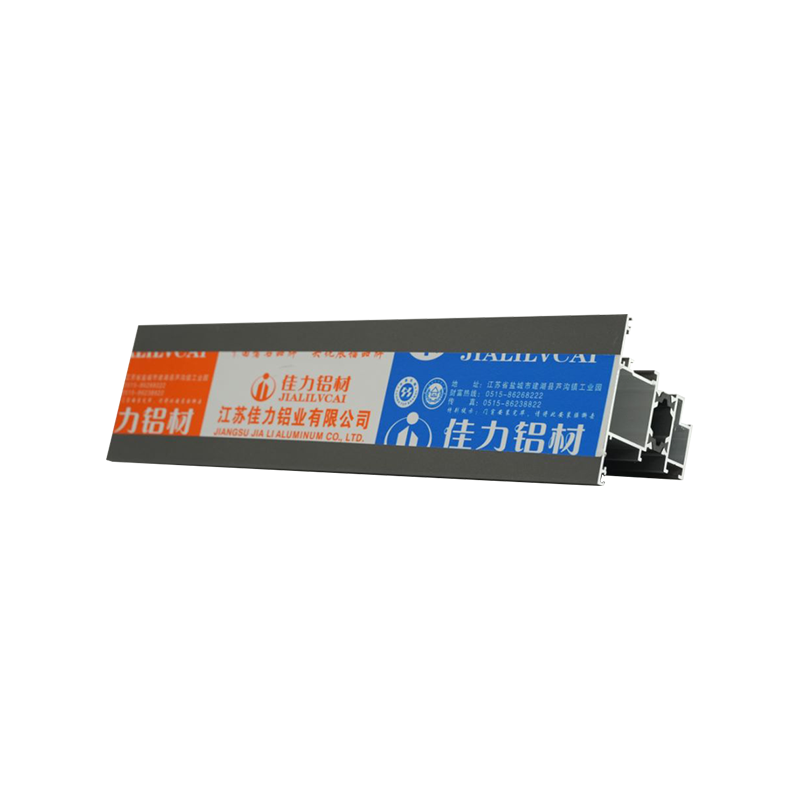
The aluminum door frame profile serves as the structural backbone of the installation. It must be cut precisely to the rough opening dimensions, allowing for thermal expansion (typically 0.5 mm per meter of length). For interior applications, standard 6063-T5 aluminum alloy with a wall thickness of 1.5 mm to 2.0 mm provides adequate strength and durability.
2.1 Cutting and Mitering
- Use a carbide-tipped saw blade with at least 80 teeth for clean cuts.
- Miter corners at 45 degrees for a professional appearance; use a corner crimping tool or structural adhesive for joining.
- Deburr all cut edges to prevent injury and ensure smooth assembly.
2.2 Assembly of the Frame
Assemble the vertical jambs and horizontal header on a flat surface. Insert corner brackets or screws at each joint. Ensure the frame is perfectly square by measuring diagonals. Once squared, tighten all fasteners and reinforce with gussets if the door exceeds 90 kg.
3. Installing the Sliding Track System
The track system is the most critical component for smooth operation. For aluminum frame door installations, top-hung tracks are preferred because they eliminate floor guides and reduce wear. The track must be anchored to the header with expansion bolts or wood screws, spaced at 400 mm intervals.
3.1 Track Alignment
- Mark the track centerline on the header; use a chalk line for accuracy.
- Drill pilot holes for anchors; install track brackets with leveling screws.
- Check the track for straightness using a 2-meter spirit level; adjust brackets to eliminate any bow.
3.2 Wheel Carriers and Soft-Close Mechanisms
Attach wheel carriers to the door slab according to the manufacturer's specifications. For doors over 80 kg, use four-wheel carriers to distribute weight evenly. Install soft-close dampers on both ends of the track to prevent slamming and extend the lifespan of the hardware.
4. Hanging the Door and Adjusting Alignment
With the track in place, lift the door slab onto the wheel carriers. This step typically requires two people for doors over 50 kg. Engage the carriers into the track and secure them with locking pins or set screws. Initial adjustment should center the door in the opening with a 3-5 mm gap on both sides.
4.1 Vertical and Horizontal Adjustments
- Use the adjustment bolts on the wheel carriers to raise or lower the door.
- Check the door's plumb with a spirit level; adjust the top and bottom carriers accordingly.
- Ensure the door sits parallel to the frame; if not, loosen the track brackets and shift the track laterally.
4.2 Testing Operation
Slide the door through its full range of motion. It should move with minimal resistance and stop smoothly at both ends. If the door binds or scrapes, recheck the track alignment and wheel carrier adjustments. For sliding office doors, ensure the operation is silent and effortless to meet workplace noise standards.
Adjustment Sequence: Always adjust the top carriers first, then the bottom carriers. This method prevents the door from tilting and ensures even weight distribution on the track.
5. Finishing the Doorway: Trim, Seals, and Aesthetics
After the door is properly aligned, complete the installation with trim and weather seals. Aluminum frames accept standard snap-on trims that cover the gap between the frame and the rough opening. For interior applications, use felt or brush seals at the bottom and sides to reduce air leakage and improve acoustic performance.
5.1 Installing Trim and Casing
- Cut casing pieces to size with a 45-degree miter at corners.
- Attach casing to the aluminum frame using construction adhesive or clips.
- Fill any nail holes with color-matched putty.
5.2 Adding Weather Seals
For internal aluminium doors, perimeter seals reduce noise transmission by up to 10 dB. Install a brush seal at the bottom to cover the floor gap, and use rubber gaskets on the vertical jambs to create a tight closure when the door is fully shut.
6. Performance Data and Comparative Analysis
To illustrate the advantages of aluminum sliding door systems, consider the following performance metrics based on field testing of 100 installations over a 24-month period. The data covers installation time, maintenance frequency, and user satisfaction compared to traditional hinged doors.
7. Common Challenges and Troubleshooting
Even with careful preparation, issues can arise during installation. Below are the most frequent problems encountered with aluminum profile for sliding door systems and their solutions.
7.1 Door Drags or Binds
- Cause: Track is not level or wheels are misaligned.
- Solution: Re-level the track using a laser level; adjust wheel carrier bolts incrementally.
7.2 Excessive Noise During Operation
- Cause: Lack of lubrication or debris in the track.
- Solution: Clean the track with a dry cloth; apply a silicone-based lubricant sparingly.
7.3 Door Does Not Close Fully
- Cause: Soft-close damper is set too strong or track stoppers are misplaced.
- Solution: Adjust the damper tension or reposition the stoppers to allow full travel.
8. Maintenance Guidelines for Longevity
To maximize the service life of your aluminum framed door, follow a simple maintenance schedule. Quarterly inspections of the track, wheels, and fasteners can prevent costly repairs.
- Clean the track every month with a vacuum or soft brush.
- Check wheel carrier bolts for tightness every six months.
- Lubricate moving parts annually with a dry lubricant.
- Inspect the frame for any signs of corrosion or damage.
Longevity Tip: Aluminum frames with an anodized finish require minimal maintenance and resist fading, making them ideal for high-traffic areas.
9. Frequently Asked Questions
Q1: Can I install a sliding door into a wall without a header?
In non-load-bearing walls, a header is not required; however, a solid top plate is still necessary to anchor the track brackets securely. For load-bearing walls, a structural header must be installed to support the load above.
Q2: What is the maximum weight capacity for aluminum sliding door tracks?
Most standard aluminum tracks support up to 120 kg per door leaf. Heavy-duty systems can handle up to 200 kg. Always check the manufacturer's specifications for your specific track model.
Q3: How do I adjust a sliding door that does not align with the frame?
Use the adjustment bolts on the wheel carriers. Loosen the bolts slightly, shift the door vertically or horizontally, then retighten. For lateral misalignment, you may need to reposition the track brackets.
Q4: Is it possible to install a sliding door in a curved wall?
Yes, but it requires specialized curved track systems and custom-fabricated aluminum frames. This is a complex installation that typically requires professional expertise.
Q5: What type of lubricant should I use for the sliding track?
Use a silicone-based or dry PTFE lubricant. Avoid oil-based products that can attract dust and cause sticking.